
HƯỚNG DẪN SETUP EXCHANGE 2019 ON WINDOWS SERVER 2019 CORE STANDARD
Mô hình
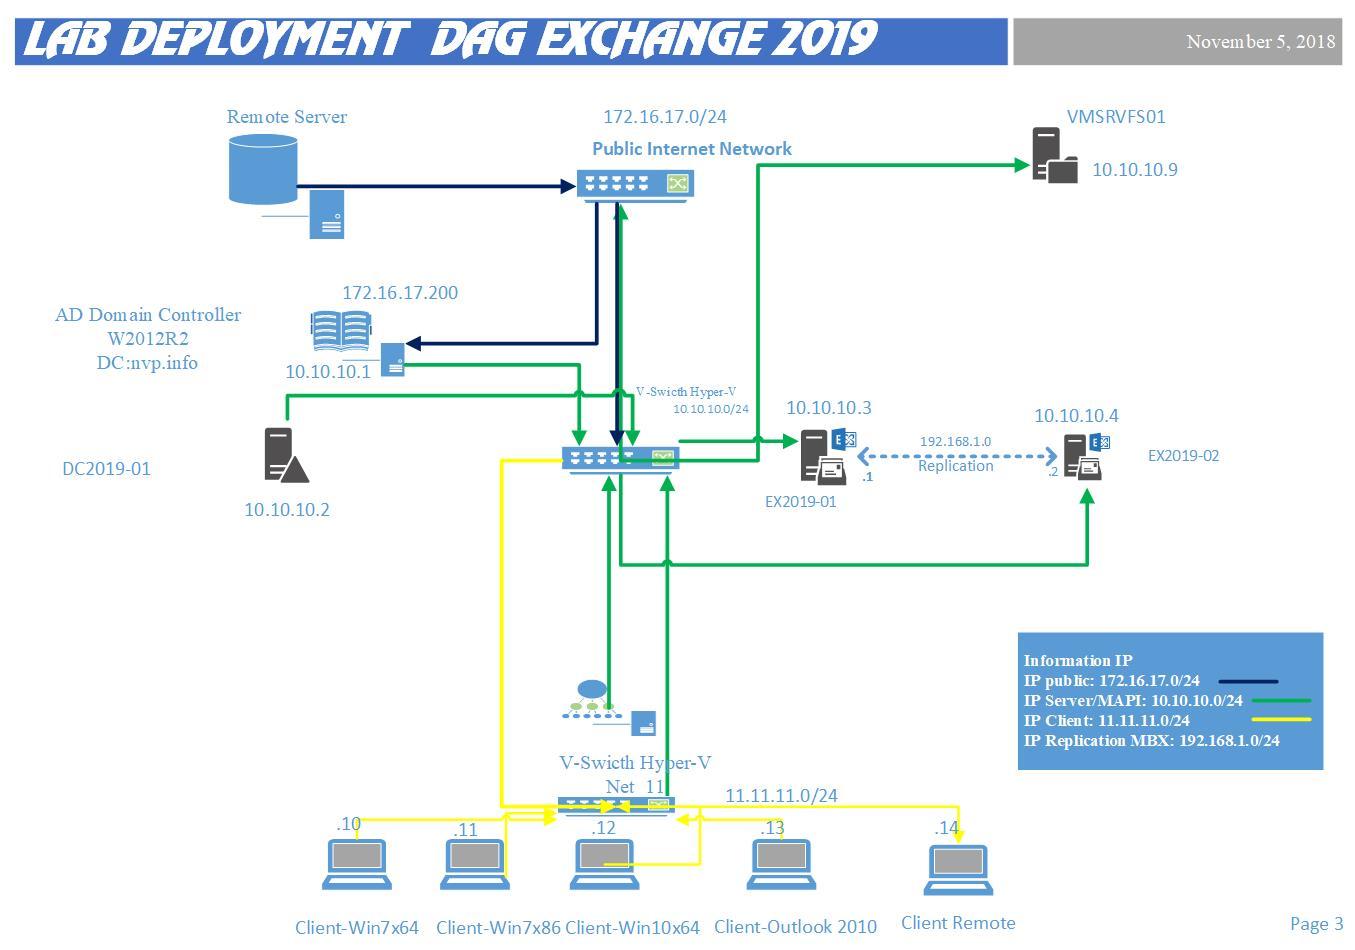
Lab
|
ServerName |
IP Address |
SM |
GW |
DNS |
Roles |
|
DC2019-01 |
10.10.11.1 |
24 |
10.10.11.254 |
10.10.11.1 |
Domain Controller 2019 |
|
EX2019-01 |
10.10.11.3 |
24 |
10.10.11.254 |
10.10.11.1 |
Exchange 2019 |
Tài nguyên
|
ServerName |
RAM |
CPU |
HDD |
|
VMLSRVAD19-01 |
4G |
1 |
127G |
|
EX19 |
10G |
2 |
127G |
Cài đặt WS server 2019 core
Xem tài liệu tạo máy ảo tại đây 2018-11-05-HUONG DAN TAO VM TREN HYPER-V ON WINDOWS SERVER 2016.pdf
Chuẩn bị Domain controller 2019
|
Task Description |
Screenshot |
|
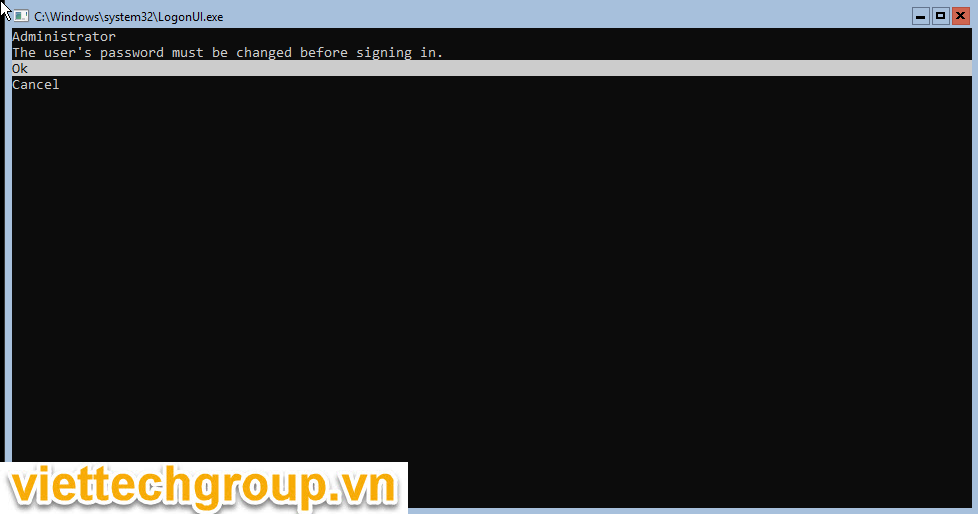
Logon |
 |
|
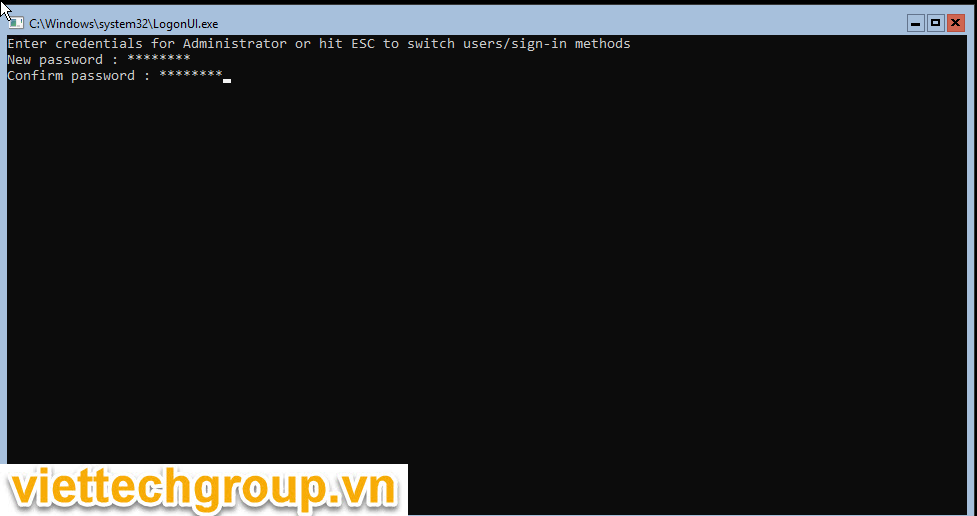
Change password |
 |
|
Change thành công |
 |
 | |
|
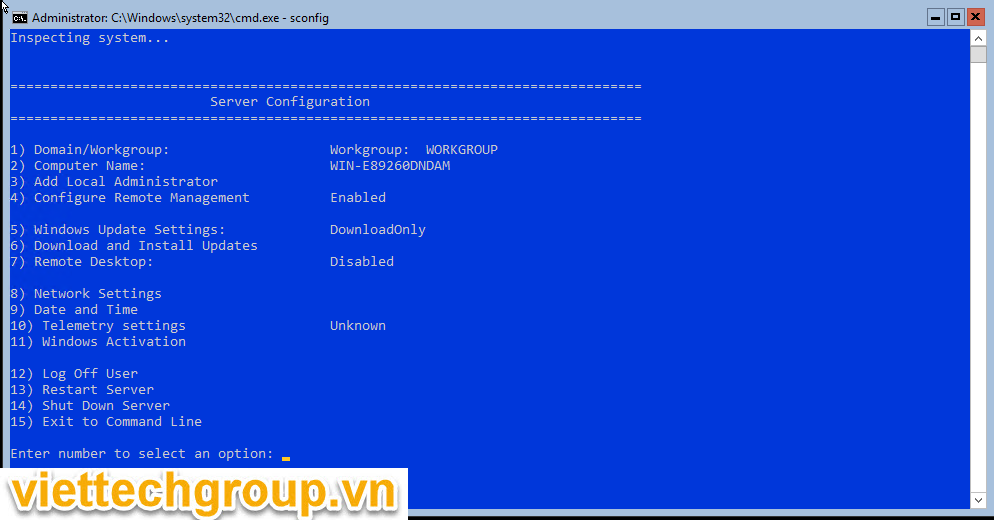
Cấu hình |
Scconfig |
|
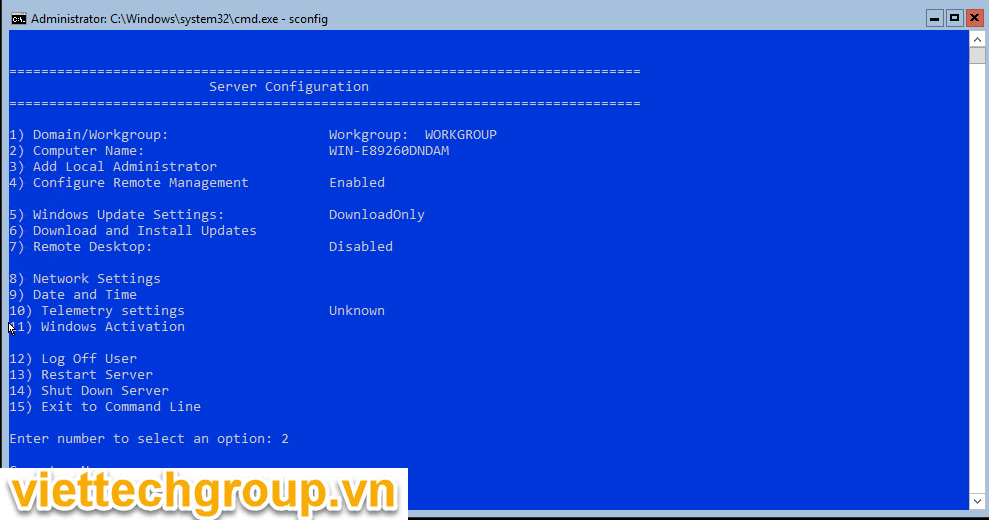
Cấu hình tên máy tính=> 2=>DC2019-01 |
 |
|
Cấu hình tên máy tính=> 2=>DC2019-01 |
 |
|
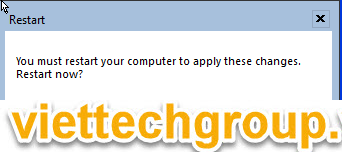
Khởi động lại DC2019-01 |
 |
|
CẤU HÌNH NETWORKING |
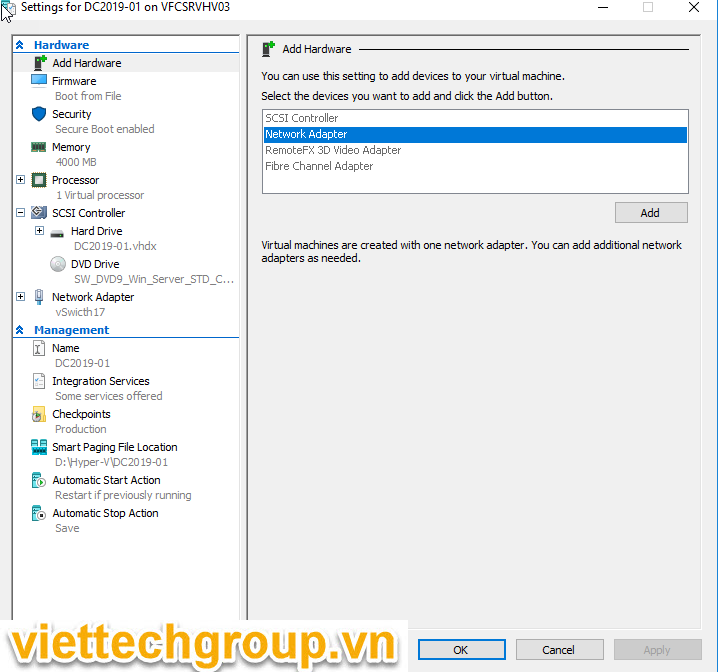
Add thêm Card net10 |
|
Add thêm card mạng |
 |
|
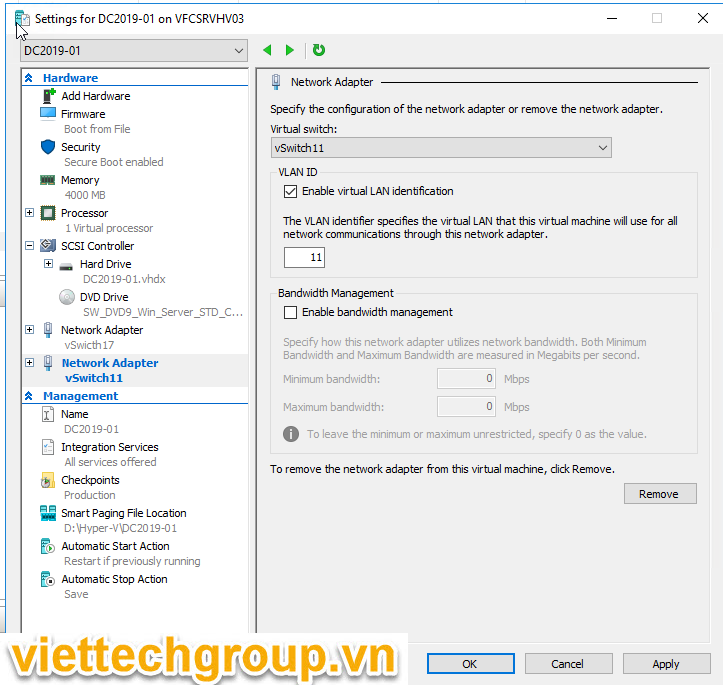
Chọn Tagg VLAN 11 |
 |
|
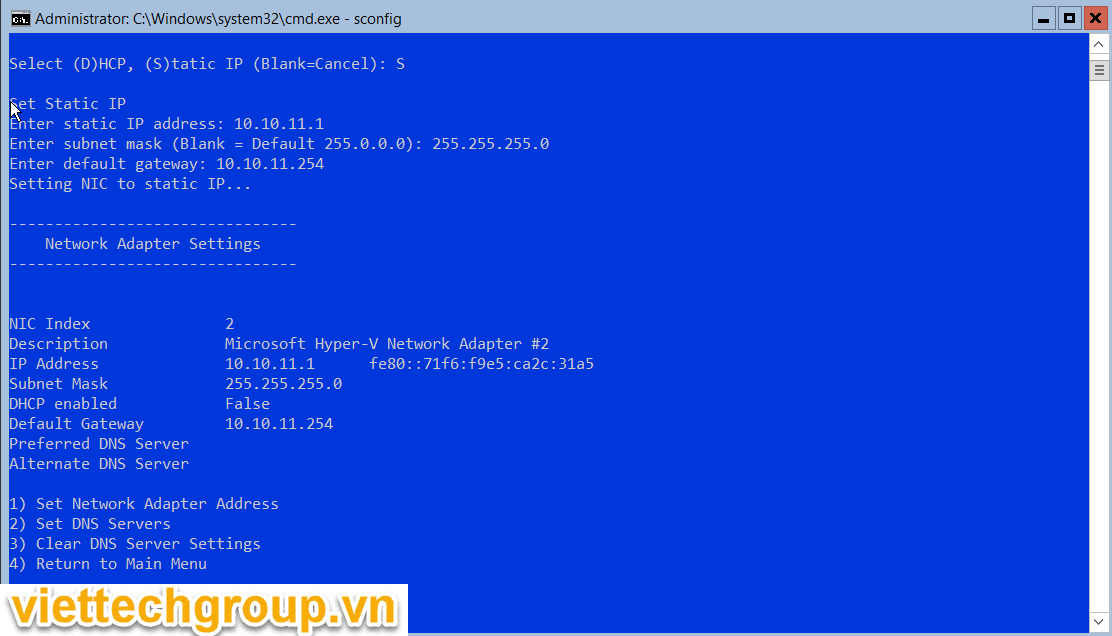
Cấu hình IP |
 |
|
NET11 |
10.10.11.1 |
|
Rename |
Rename-Computer -ComputerName <new_name> |
New-NetIPAddress -InterfaceIndex 6 -IPAddress 192.168.12.123 -PrefixLength 24 -DefaultGateway 192.168.12.100
Enable để copy file từ host vật lý vào trong máy ảo
Enable-VMIntegrationService -name Guest* -VMName Server2019 -Passthru
Copy-VMFile “DC2019-01” -SourcePath “C:\Users\Administrator.VFC\WindowsAdminCenter1809.msi” -DestinationPath “C:\temp\ WindowsAdminCenter1809.msi” -CreateFullPath -FileSource Host
msiexec /i C:\temp\WindowsAdminCenter1804.msi /qn /L*v log.txt SME_PORT=443 SSL_CERTIFICATE_OPTION=generate 
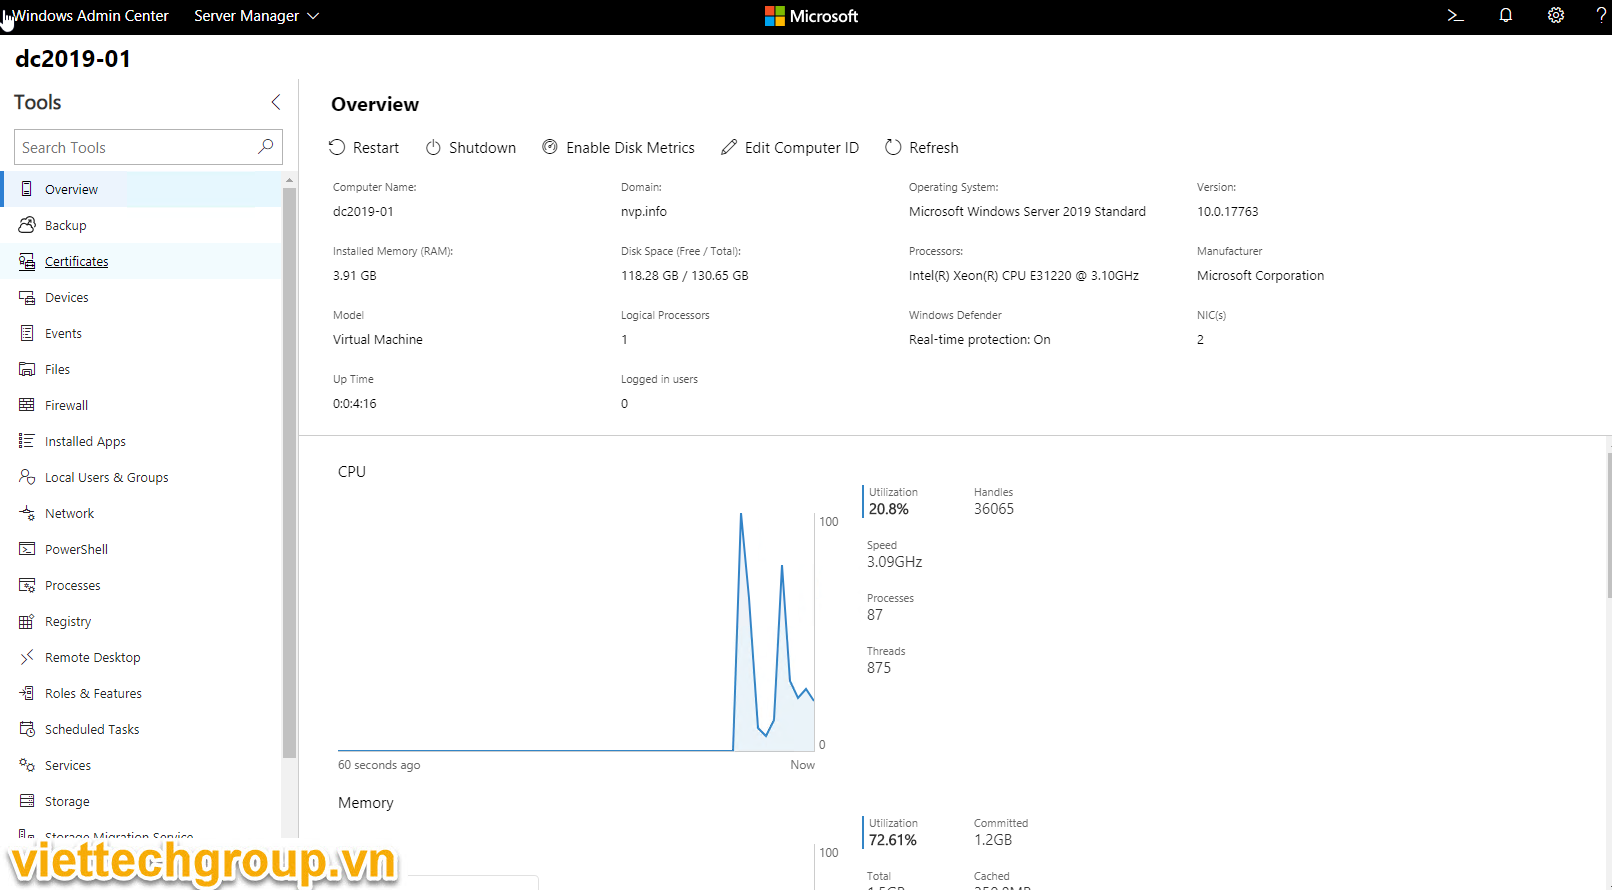
Đăng nhập nhé
Có thể cài SSH (https://github.com/PowerShell/Win32-OpenSSH/releases )
Install-Module -Name Posh-SSH
Nâng cấp DC 2019 nhé
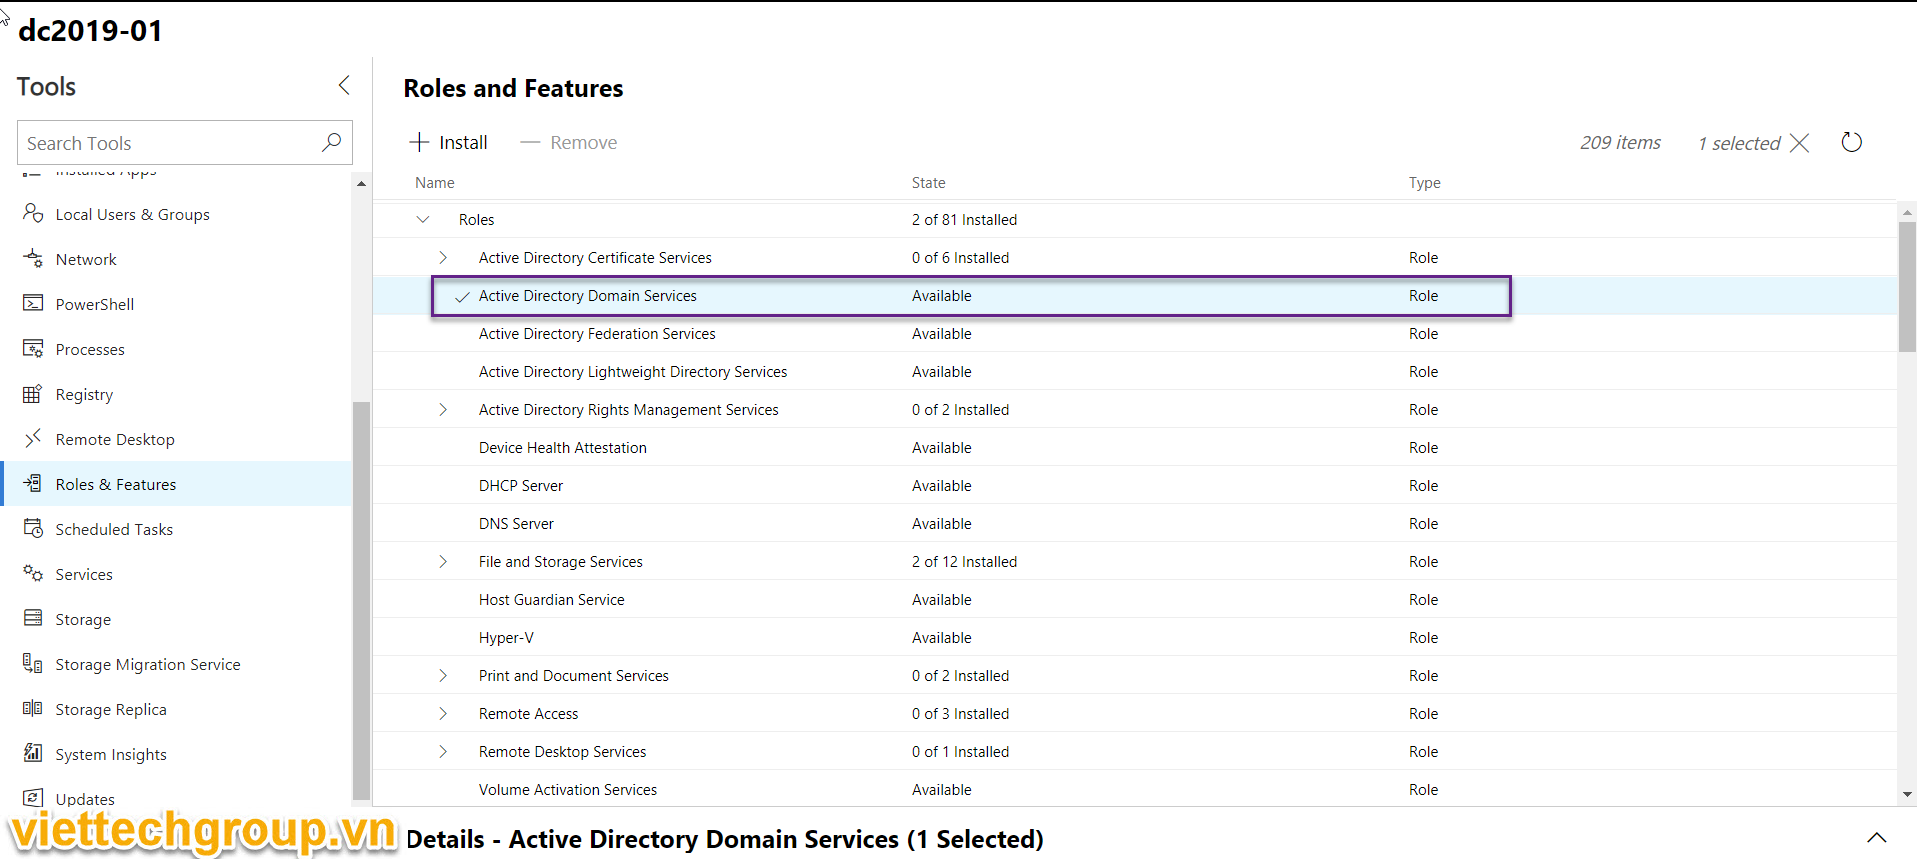
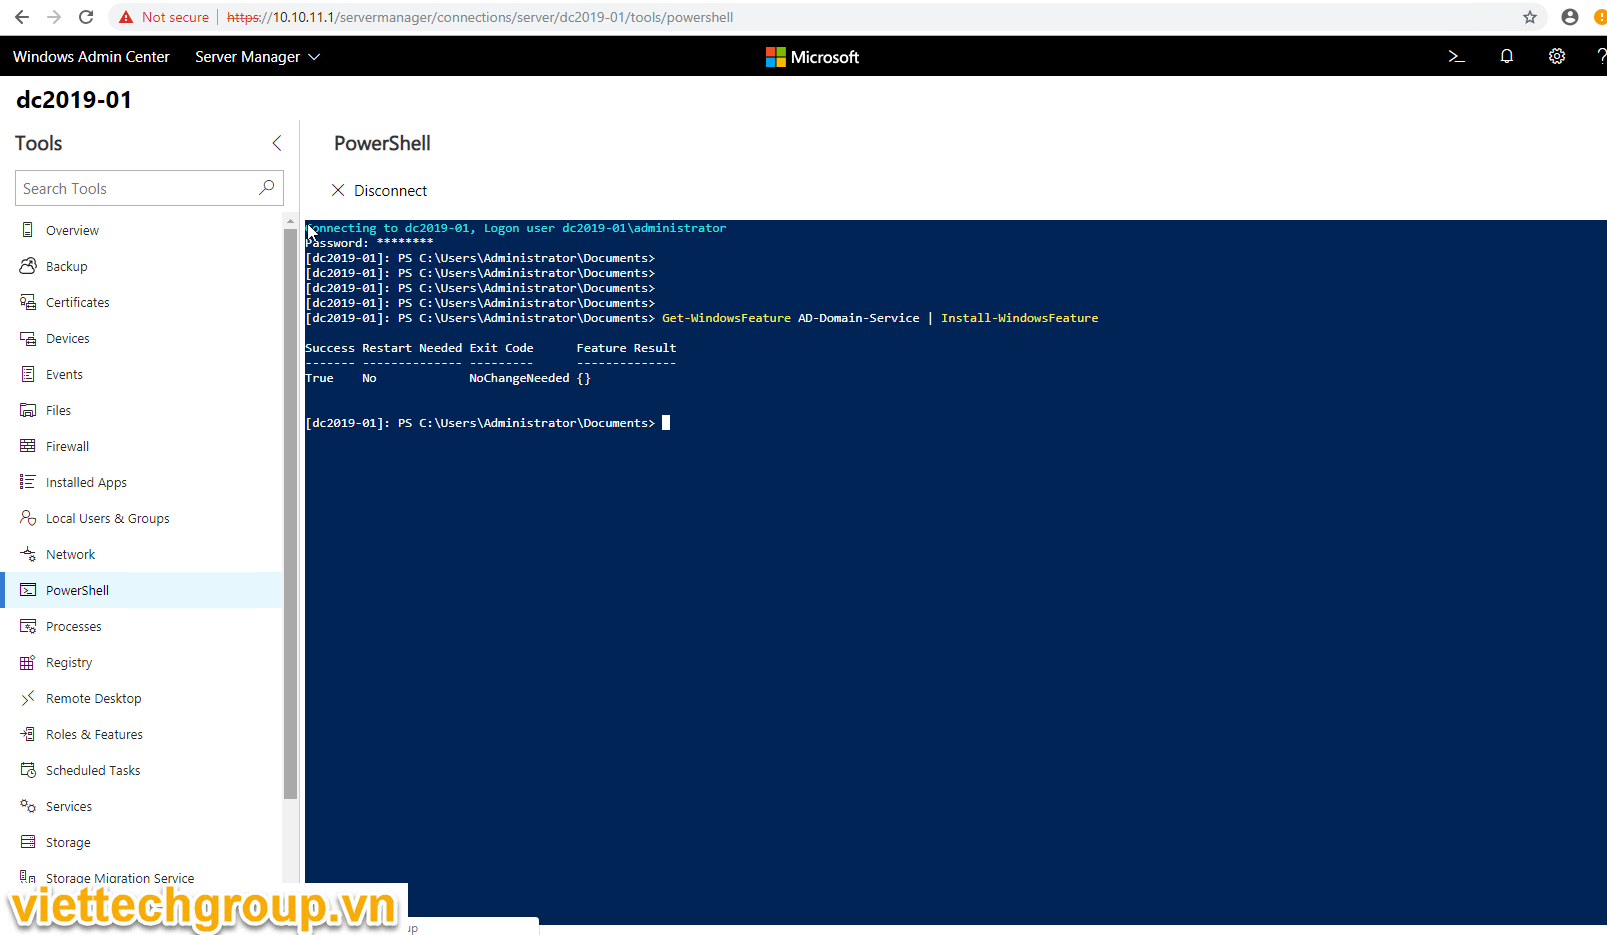
Using PowerShell
PowerShell Command to start creating Domain Controller
Get-WindowsFeature AD-Domain-Service | Install-WindowsFeature
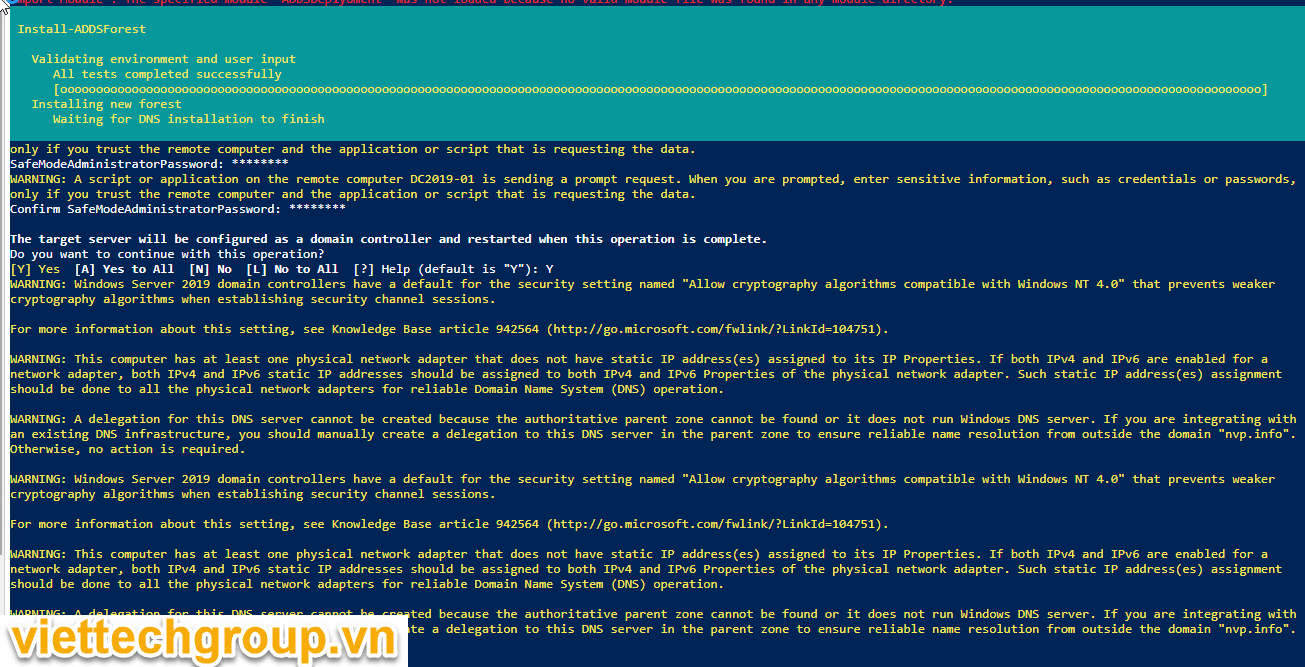
Import-Module ADDSDeplyoment
Install-ADDSForest
Install-ADDSDomainController -Credential (Get-Credential) `
-NoGlobalCatalog:$false `
-CreateDnsDelegation:$false `
-CriticalReplicationOnly:$false `
-DatabasePath “C:\Windows\NTDS” `
-DomainName ‘nvp.info’ `
-InstallDns:$true `
-LogPath “C:\Windows\NTDS” `
-NoRebootOnCompletion:$false `
-SiteName “Default-First-Site-Name” `
-SysvolPath “C:\Windows\SYSVOL” `
-Force:$true
Reboot
Nâng cấp thành công
New-ADUser –Name “Helpdesk” –GivenName Help –Surname Desk –SamAccountName Helpdesk –UserPrincipalName [email protected]
Set-ADAccountPassword ‘CN=Helpdesk,CN=users,DC=nvp,DC=info’ -Reset -NewPassword (ConvertTo-SecureString -AsPlainText “Test@123” -Force)

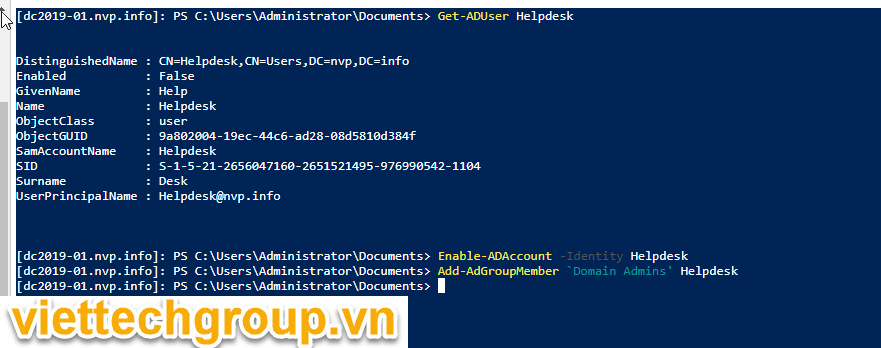
Get-ADUser Helpdesk
Enable the AD user
Enable-ADAccount -Identity Helpdesk
Add the user to Domain Admins group
Add-AdGroupMember ‘Domain Admins’ Helpdesk
CÀI ĐẶT WINDOWS SERVER CORE EXCHANGE 2019
Tạo máy ảo tương tự như trên
Chỉ phần setup nhé
Đặt Tên : EX2019-01
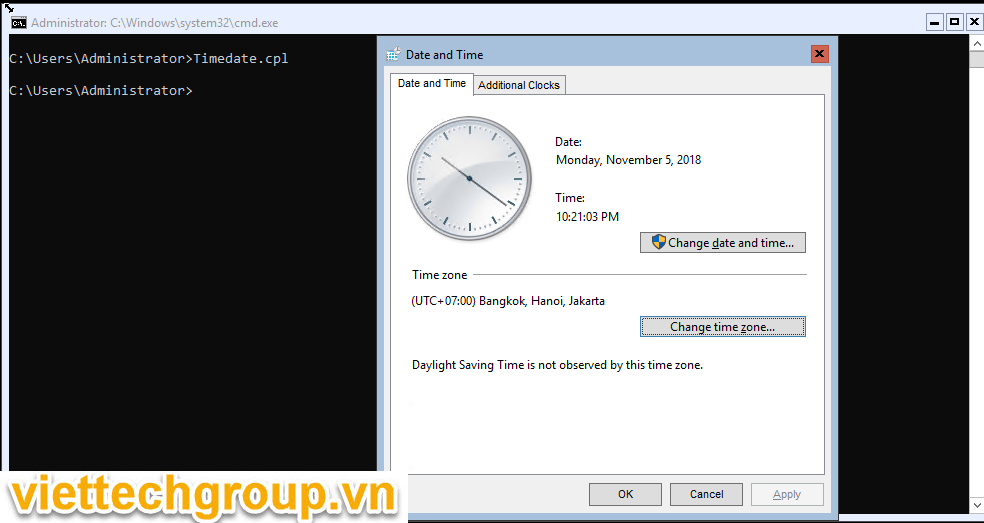
Kiểm tra setup ngày giờ Get-Timezone
Timedate.cpl
Đặt IP
New-NetIPAddress -InterfaceIndex 10 -IPAddress 10.10.11.2 -PrefixLength 24 -DefaultGateway 10.10.11.254
Configure a DNS Server
Set-DNSClientServerAddress -InterfaceIndex 10 -ServerAddress “10.10.11.1”
Enable Remote Desktop:
cscript C:\Windows\System32\Scregedit.wsf /ar 0
Hoặc sài Sconfig đặt nhé
Update
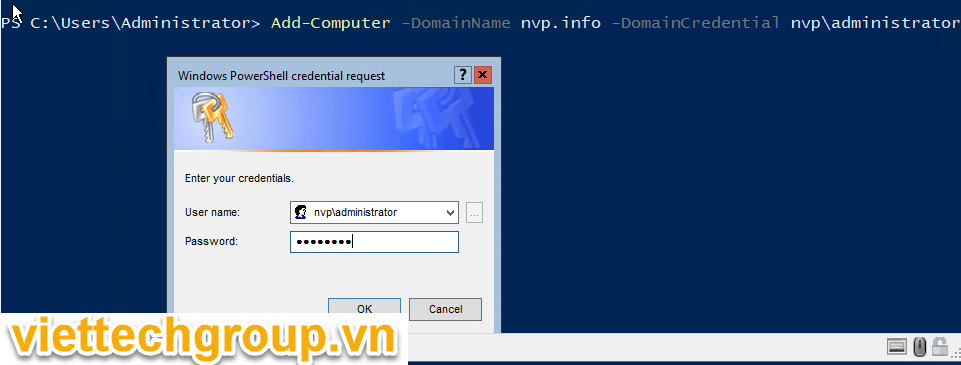
Join Domain nvp.info
Add-Computer -DomainName nvp.info -DomainCredential nvp\administrator
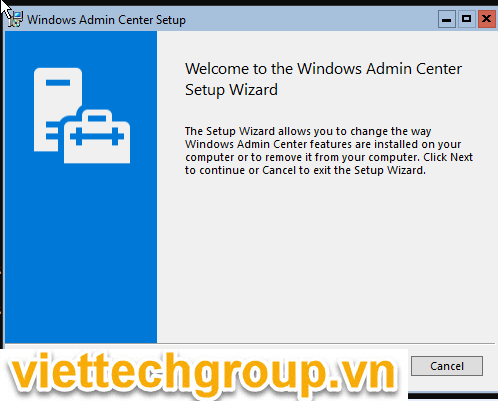
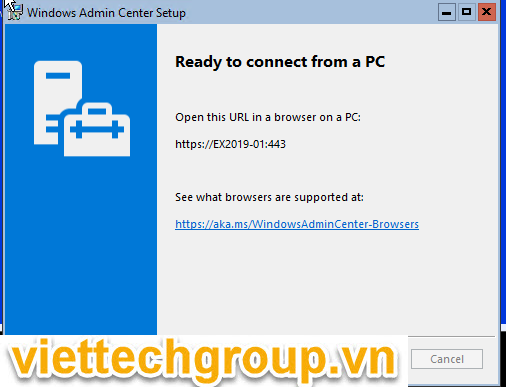
Cài đặt Windows Admin Center
Copy từ Host vào VM
Copy-VMFile “EX2019-01” -SourcePath “C:\Users\Administrator.VFC\WindowsAdminCenter1809.msi” -DestinationPath “C:\temp\WindowsAdminCenter1809.msi” -CreateFullPath -FileSource Host

Windows features
Use the following PowerShell command to install the OS component required for Microsoft UCMA 4.0 and the OS component required for Active Directory Preparation.
Install-WindowsFeature Server-Media-Foundation, RSAT-ADDS
Download các phần mềm cần thiết
- Exchange Server 2019
- Visual C++ Redistributable Packages for Visual Studio 2013 (vcredist_x64.exe)
- .Net 4.7.1 offline installer (required only for Windows Server 2016)
- UCMA
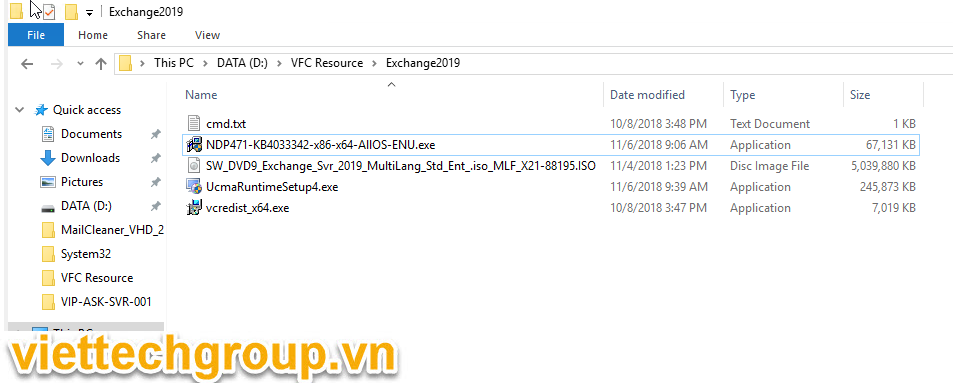
Copy source vào Windows Server Core 2019 Exchange:
Có 2 cách 1:
- Copy từ host vật lý
Logon máy ảo tạo cây thư mục
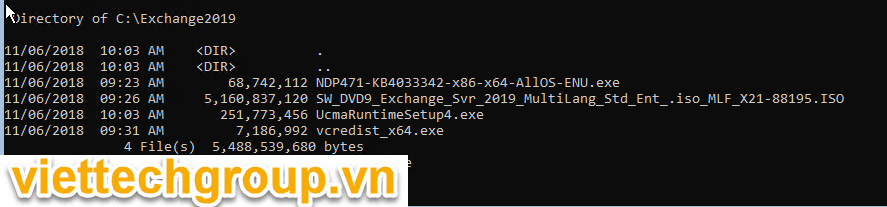
C:\mkdir Exchange2019
Vào Host Hyper-V chạy lệnh
Copy-VMFile “EX2019-01” -SourcePath “D:\VFC Resource\Exchange2019\NDP471-KB4033342-x86-x64-AllOS-ENU.exe” -DestinationPath “C:\Exchange2019\NDP471-KB4033342-x86-x64-AllOS-ENU.exe” -CreateFullPath -FileSource Host

Copy-VMFile “EX2019-01” -SourcePath “D:\VFC Resource\Exchange2019\SW_DVD9_Exchange_Svr_2019_MultiLang_Std_Ent_.iso_MLF_X21-88195.ISO” -DestinationPath “C:\Exchange2019\SW_DVD9_Exchange_Svr_2019_MultiLang_Std_Ent_.iso_MLF_X21-88195.ISO” -CreateFullPath -FileSource Host

Copy-VMFile “EX2019-01” -SourcePath “D:\VFC Resource\Exchange2019\vcredist_x64.exe” -DestinationPath “C:\Exchange2019\vcredist_x64.exe” -CreateFullPath -FileSource Host
Copy-VMFile “EX2019-01” -SourcePath “D:\VFC Resource\Exchange2019\UcmaRuntimeSetup4.exe” -DestinationPath “C:\Exchange2019\UcmaRuntimeSetup4.exe” -CreateFullPath -FileSource Host
Copy nhiều máy ảo
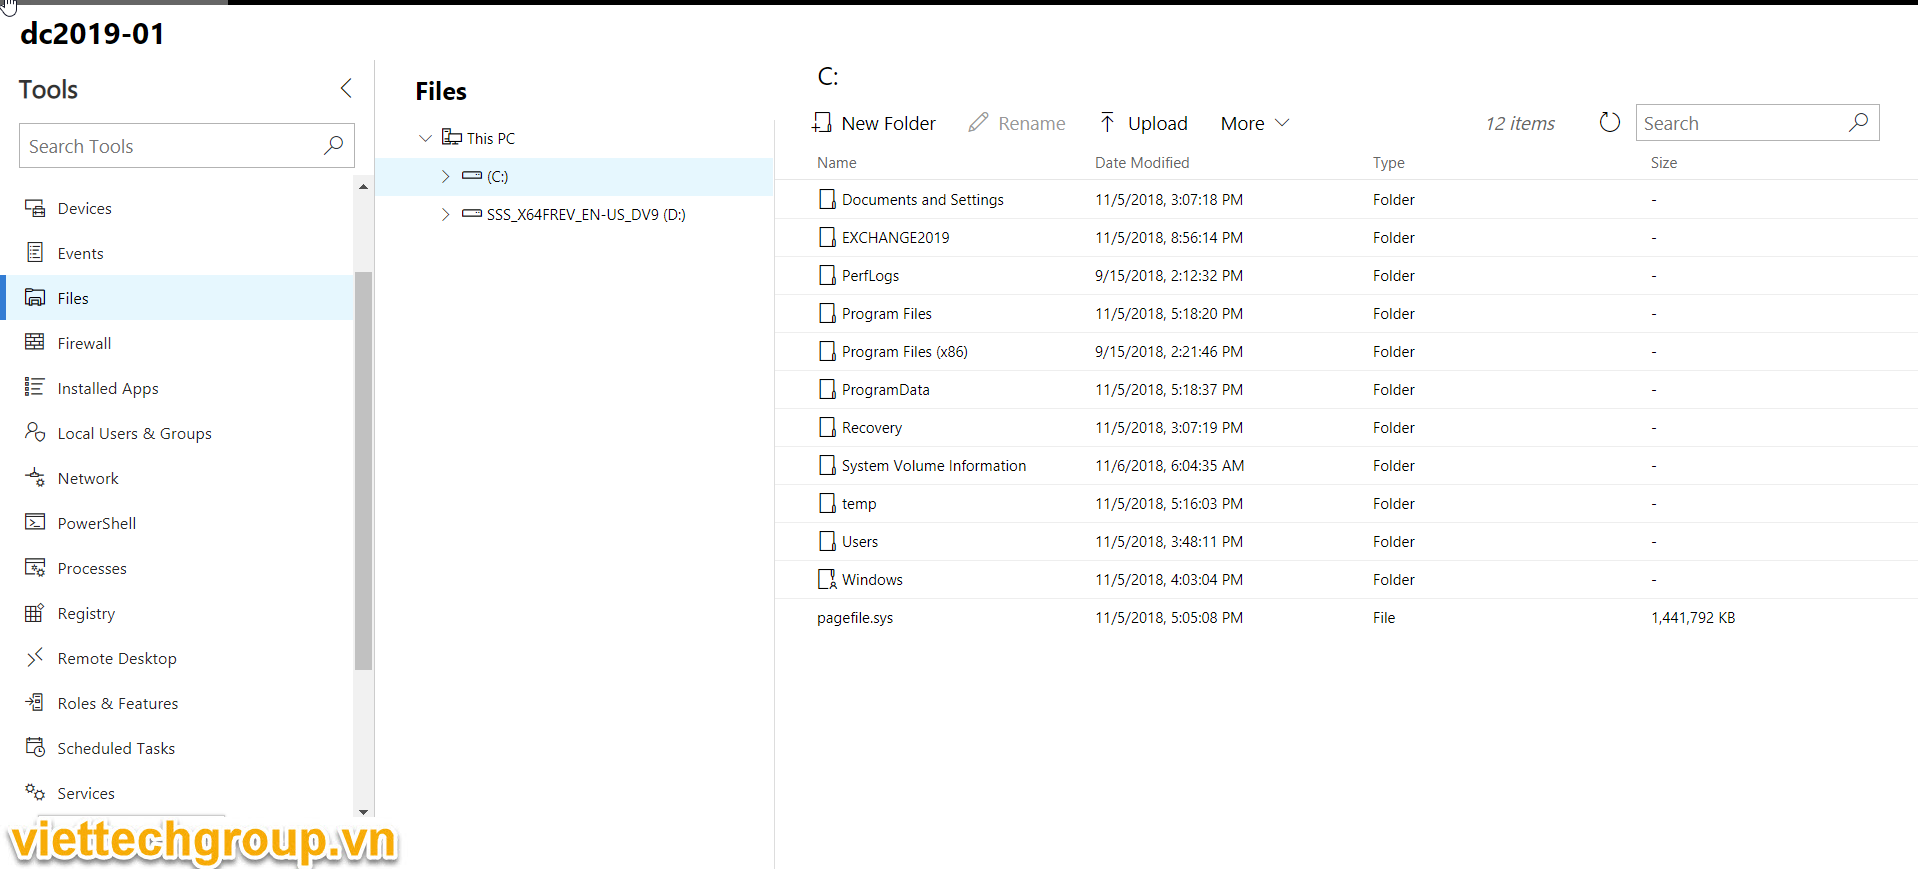
Kiểm tra lại máy Exchange 2019 nhé
- Dùng Windows Admin Center
Vào https://ipexchange để upload nhé. vào file=>update file nhé

Chọn vào Upload nhé để đưa source lên nhé
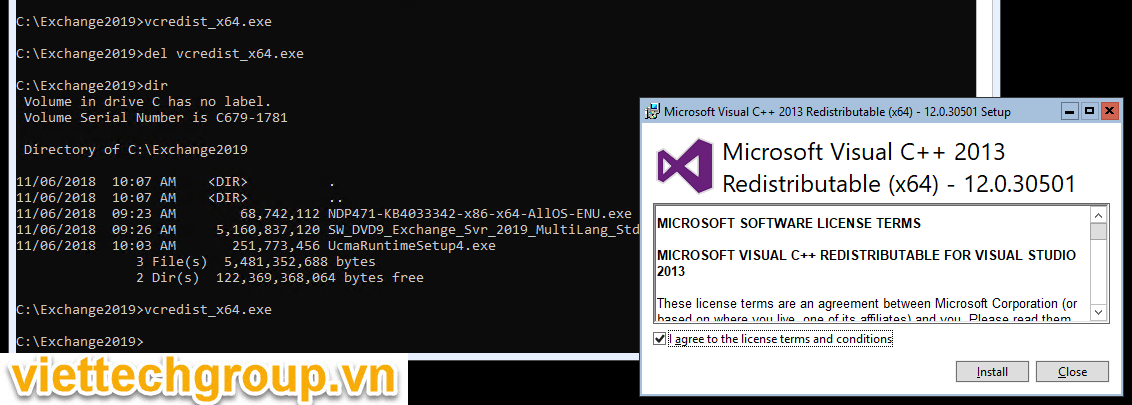
Cài đặt thư viện
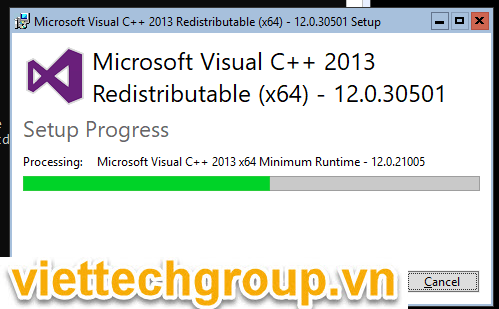
Cài đặt Install Visual C++ 2013 Redistributable
Tại CMD gỏ lệnh:
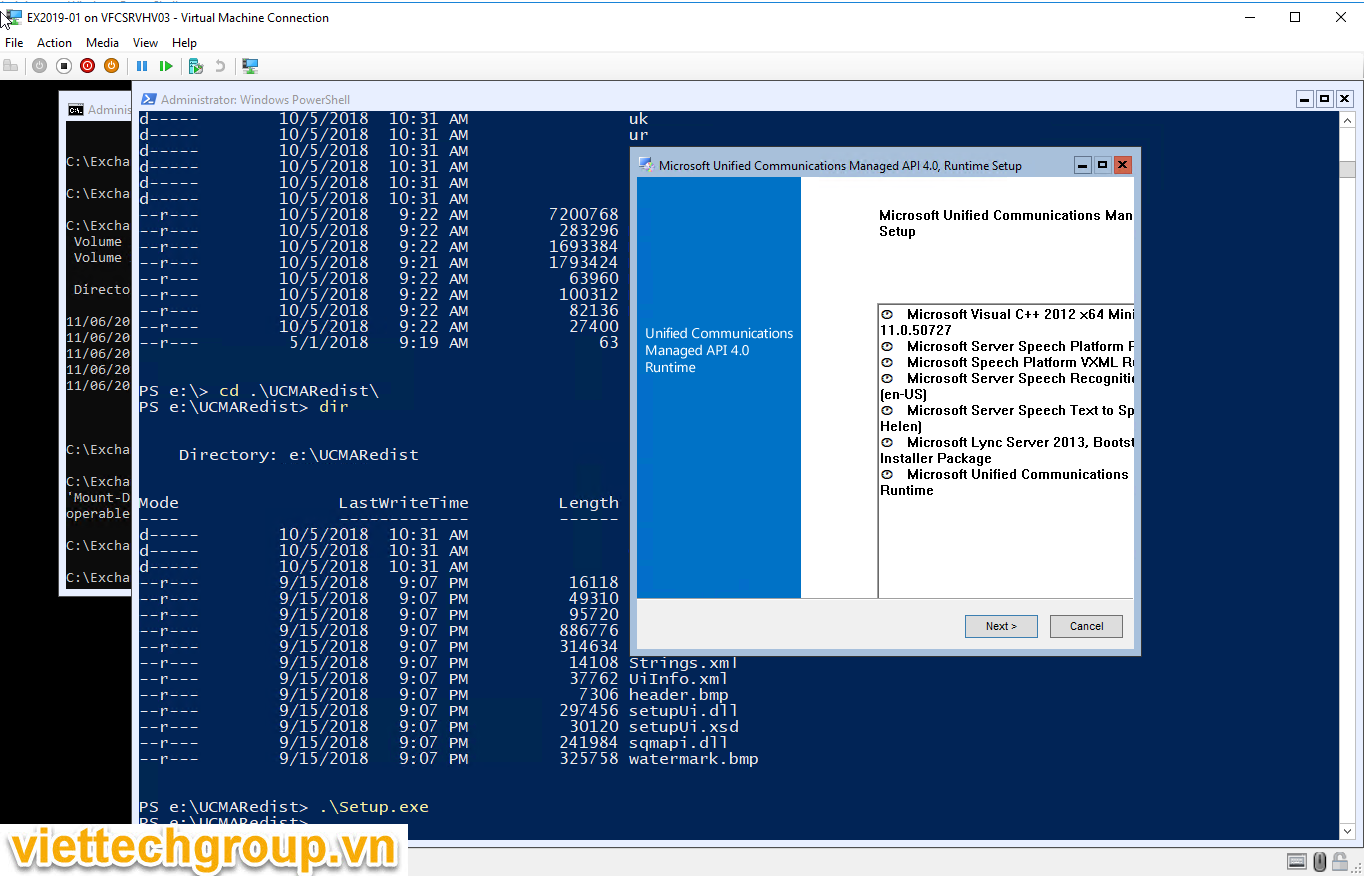
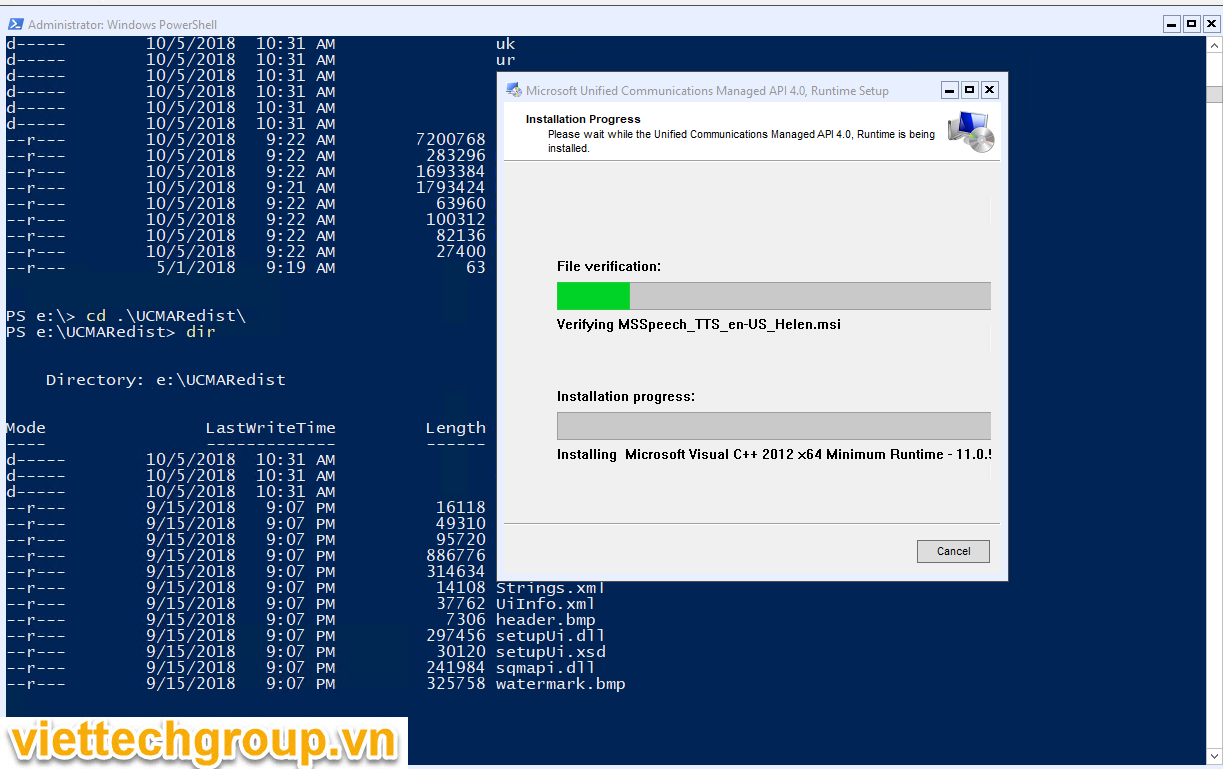
Install UCMA (Microsoft Unified Communications Managed API 4.0)
UCMA có thể download trực tiếp hoặc có sẵn trong đĩa ISO nhé tốt nhất download luôn cho roài. E:\Exchange2019\EX…\UCMARedist
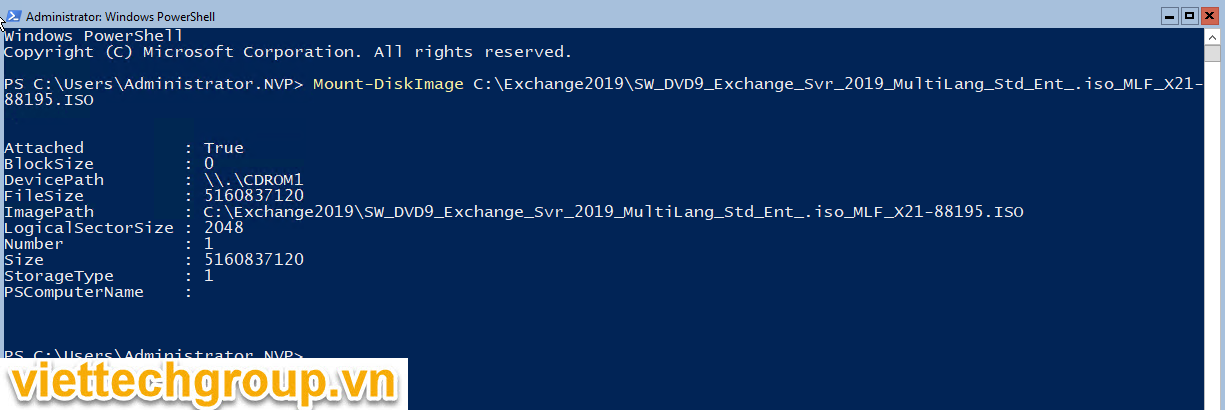
Mount disk
The UCMA installable is present on the Exchange Server 2019 media itself. Use the following PowerShell command to mount the Exchange Server media:
Mount-DiskImage C:\Exchange2019\SW_DVD9_Exchange_Svr_2019_MultiLang_Std_Ent_.iso_MLF_X21-88195.ISO 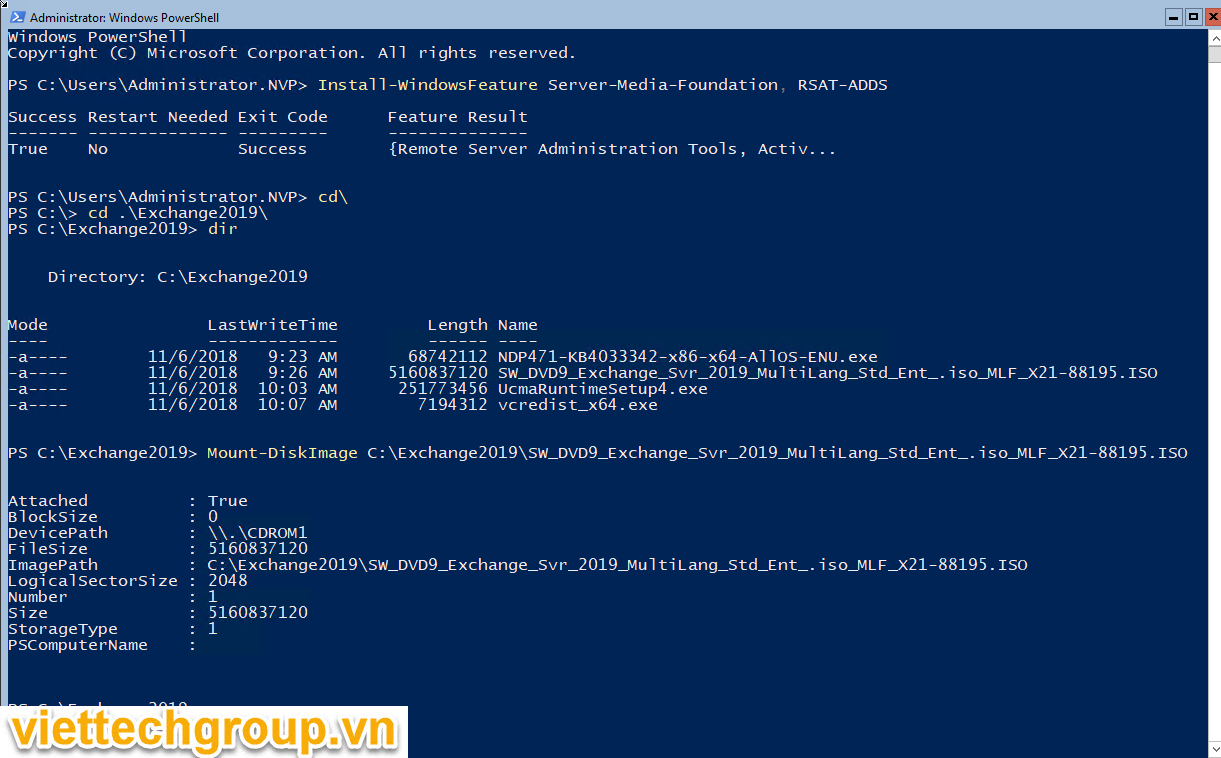
The UCMA installable is located under the “UCMARedist” folder on the Exchange Server 2019 .ISO. Start the UCMA installation:
CD E:\
CD UCMARedist
Cài Install .Net 4.7.1
Kiểm tra xem cài chưa
Regedt32 chưa cài nhé
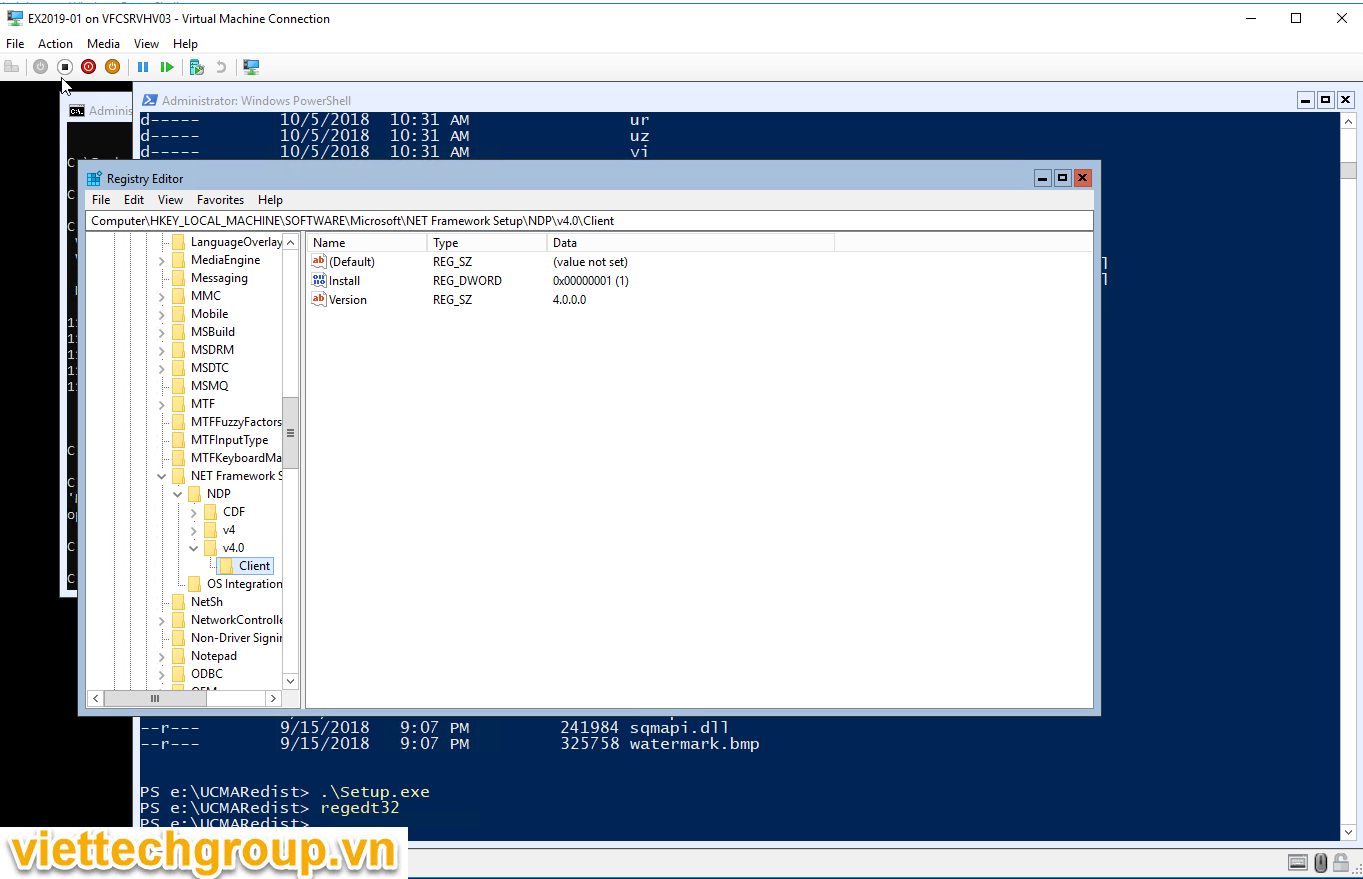
If you are not on .Net version 4.7.1 already, use the following command to install the .Net 4.7.1 (not required on Windows Server 2019 Server Core
.\NDP471-KB4033342-x86-x64-AllOS-ENU.exe /q /log c:\temp\ndp.log
Vì windows Server 2019 đã tích hợp sẵn 4.7.1
Restart-Computer –Force
CÀI ĐẶT EXCHANGE 2019 INSTALLATION
Sau khi reboot logon domain administrator
Start powershell gỏ lệnh để mount disk exchange 2019
Mount-DiskImage C:\Exchange2019\SW_DVD9_Exchange_Svr_2019_MultiLang_Std_Ent_.iso_MLF_X21-88195.ISO
CD e:
Gỏ lệnh:
E:\Setup.exe /IAcceptExchangeServerLicenseTerms_DiagnosticDataON /PrepareSchema
E:\Setup.exe /IAcceptExchangeServerLicenseTerms_DiagnosticDataON /PrepareAD /OrganizationName:”NVP”
E:\Setup.exe /IAcceptExchangeServerLicenseTerms_DiagnosticDataON /PrepareAllDomains
E:\Setup.exe /IAcceptExchangeServerLicenseTerms_DiagnosticDataON /PrepareDomain
3 Lệnh trên có thể gôm lại 1 lệnh bên dưới nhé
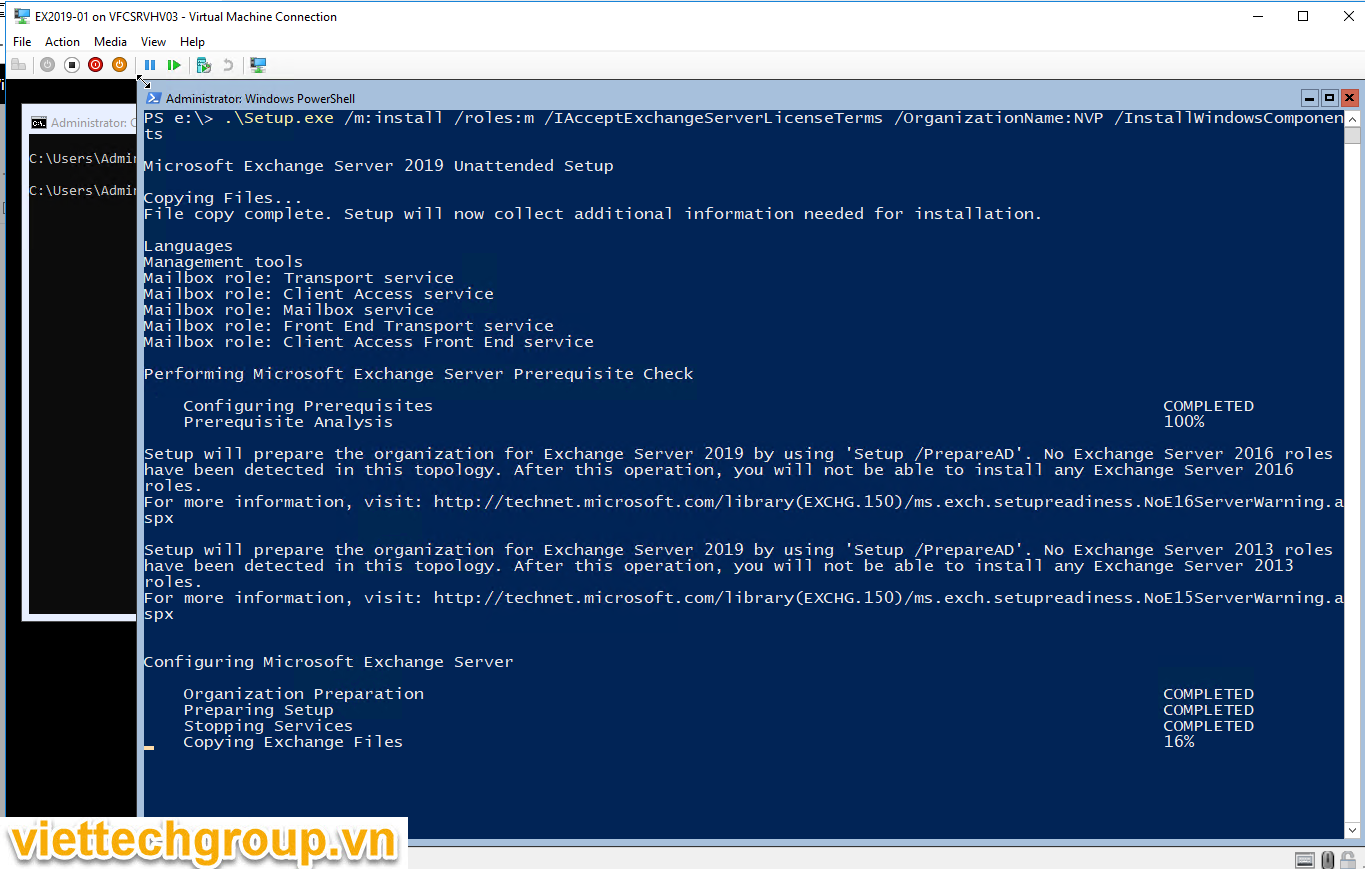
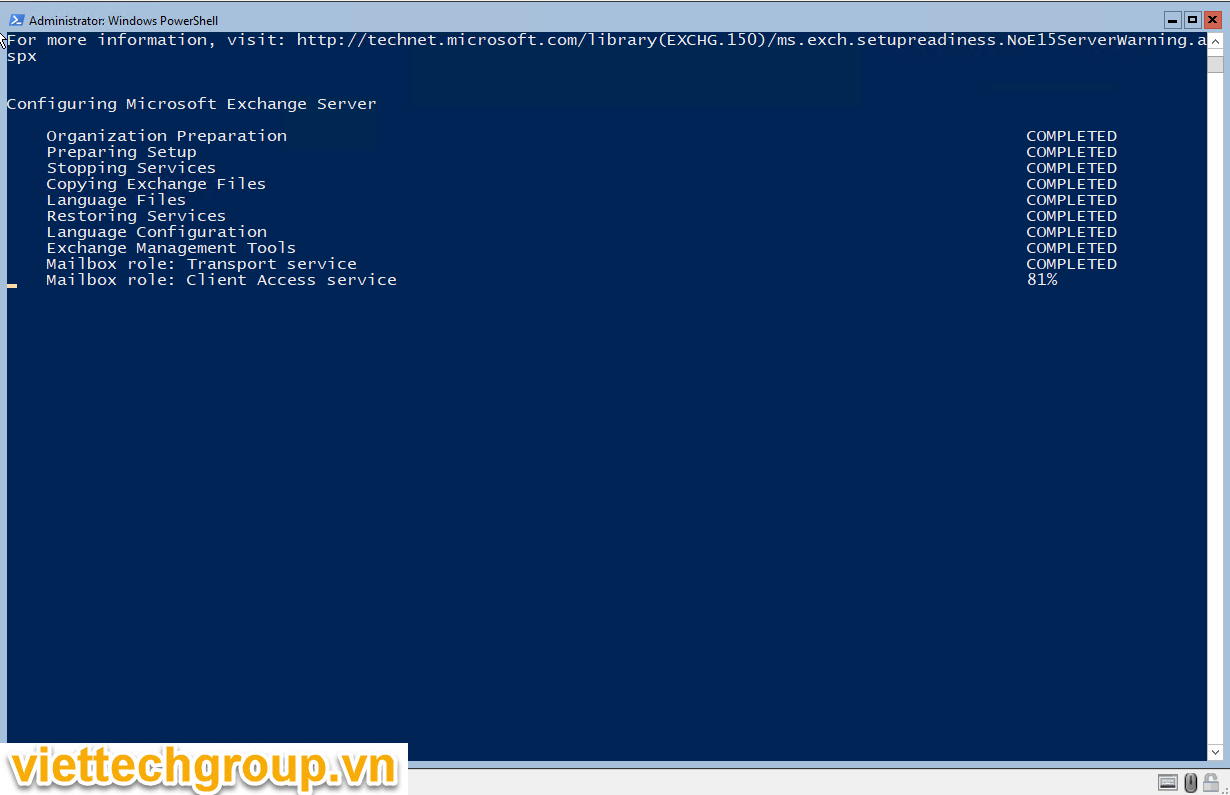
.\Setup.exe /Mode:Install /Roles:Mailbox /IAcceptExchangeServerLicenseTerms /InstallWindowsComponents
.\Setup.exe /m:install /roles:m /IAcceptExchangeServerLicenseTerms /OrganizationName:NVP /InstallWindowsComponents
Chờ hơi lâu 14:23
16:00
16:24
17:20
Nếu cài trên Windows Server 2019 Desktop GUI thì có giao diện nhé
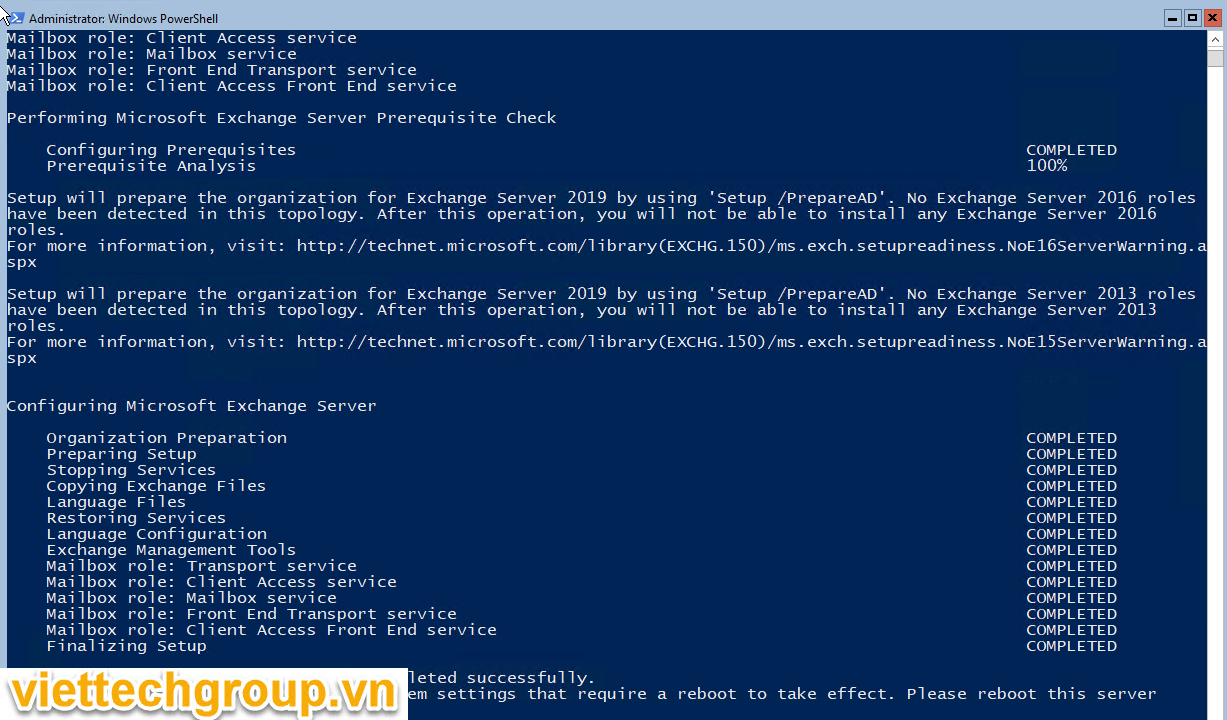
Tiến hành reboot lại nhé
Logon vào giao diện nhé
Start web trên local server core hơi khó nhe phải cài thêm feature. Tuy nhiên Server Core không khả năng cài GUI nhé
Cài phần mềm chrome nhé
“C:\Program Files (x86)\Google\Chrome\Application\Chrome.exe”
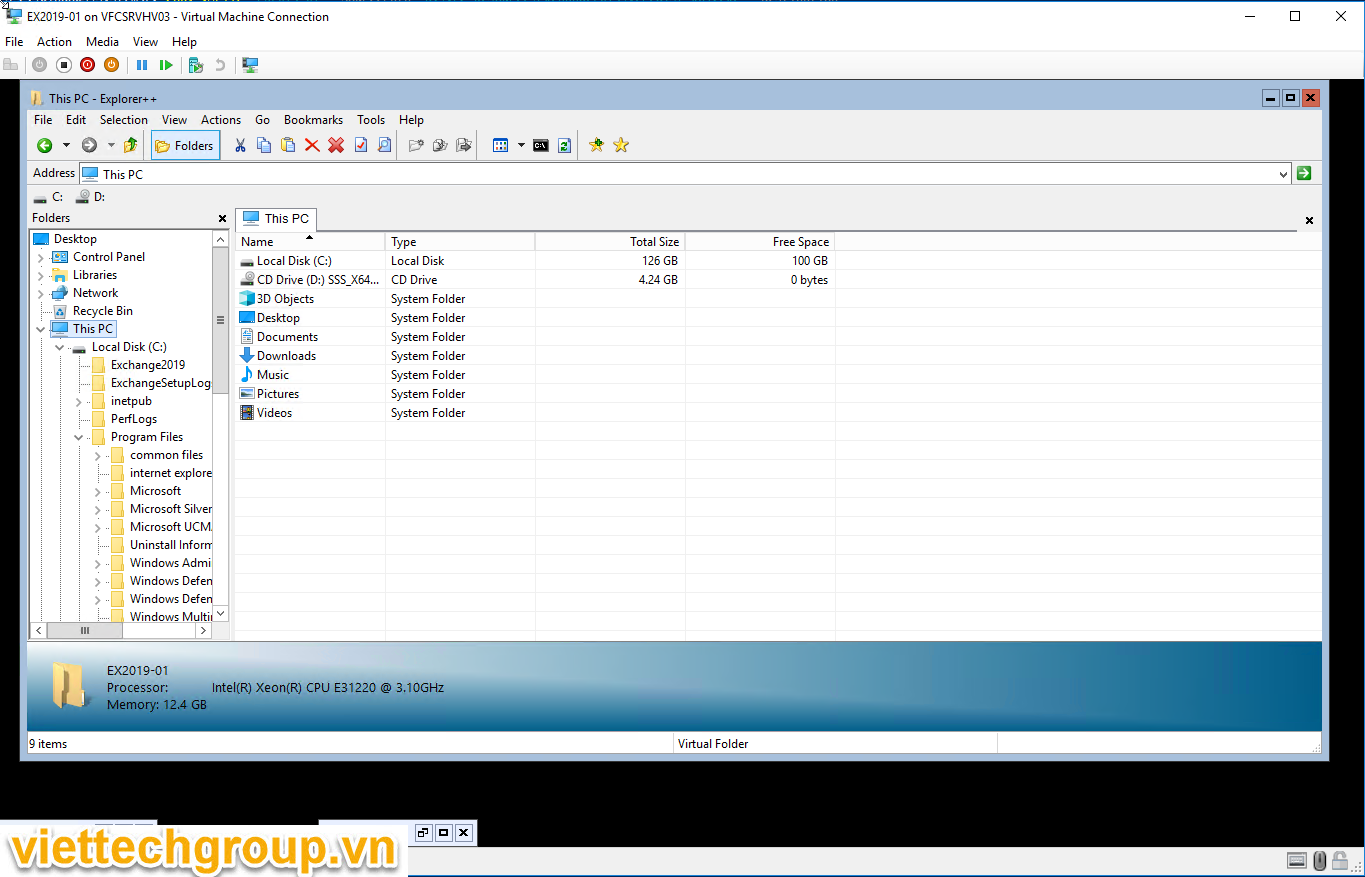
Có thể quản lý bằng công cụ Explorer++ nhé
Load Exchange management Shell nhé
Gỏ lệnh LaunchEMS

Đúng là thật khó để start web giao diện trên local host vì đang bị xung đột với windows Admin Center
Đành tháo cái admin center ra vì trùng 443
Như vậy là phương nguyễn đã hướng dẫn setup thành công cách cài đặt Exchange Server 2019 trên Windows Server Core, Còn việc cấu hình thì tương tự nhé. Chúng ta mốc vào web để quản trị
Chúc các bạn thành công
Phương Nguyễn Viết
Được đóng lại.